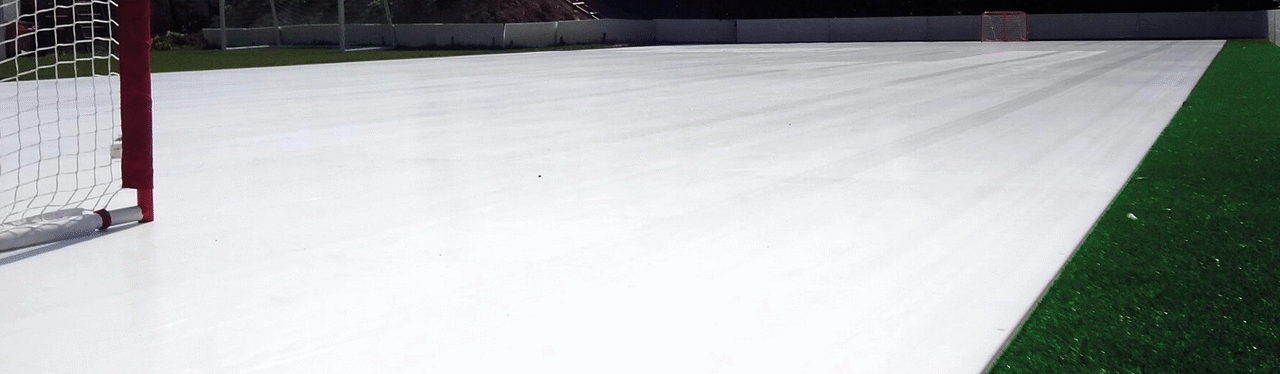
Thesynthetic ice installation is a crucial step. Improper installation leads to reduced glide, noise, vibrations, and accelerated wear. Here's how to achieve a perfect surface.
1. Prepare the ground
The ground must be:
-
clean
-
stable
-
leveled
-
dry
Ideal surfaces:
-
concrete
-
wood
-
sports floor
-
asphalt
-
thick carpet
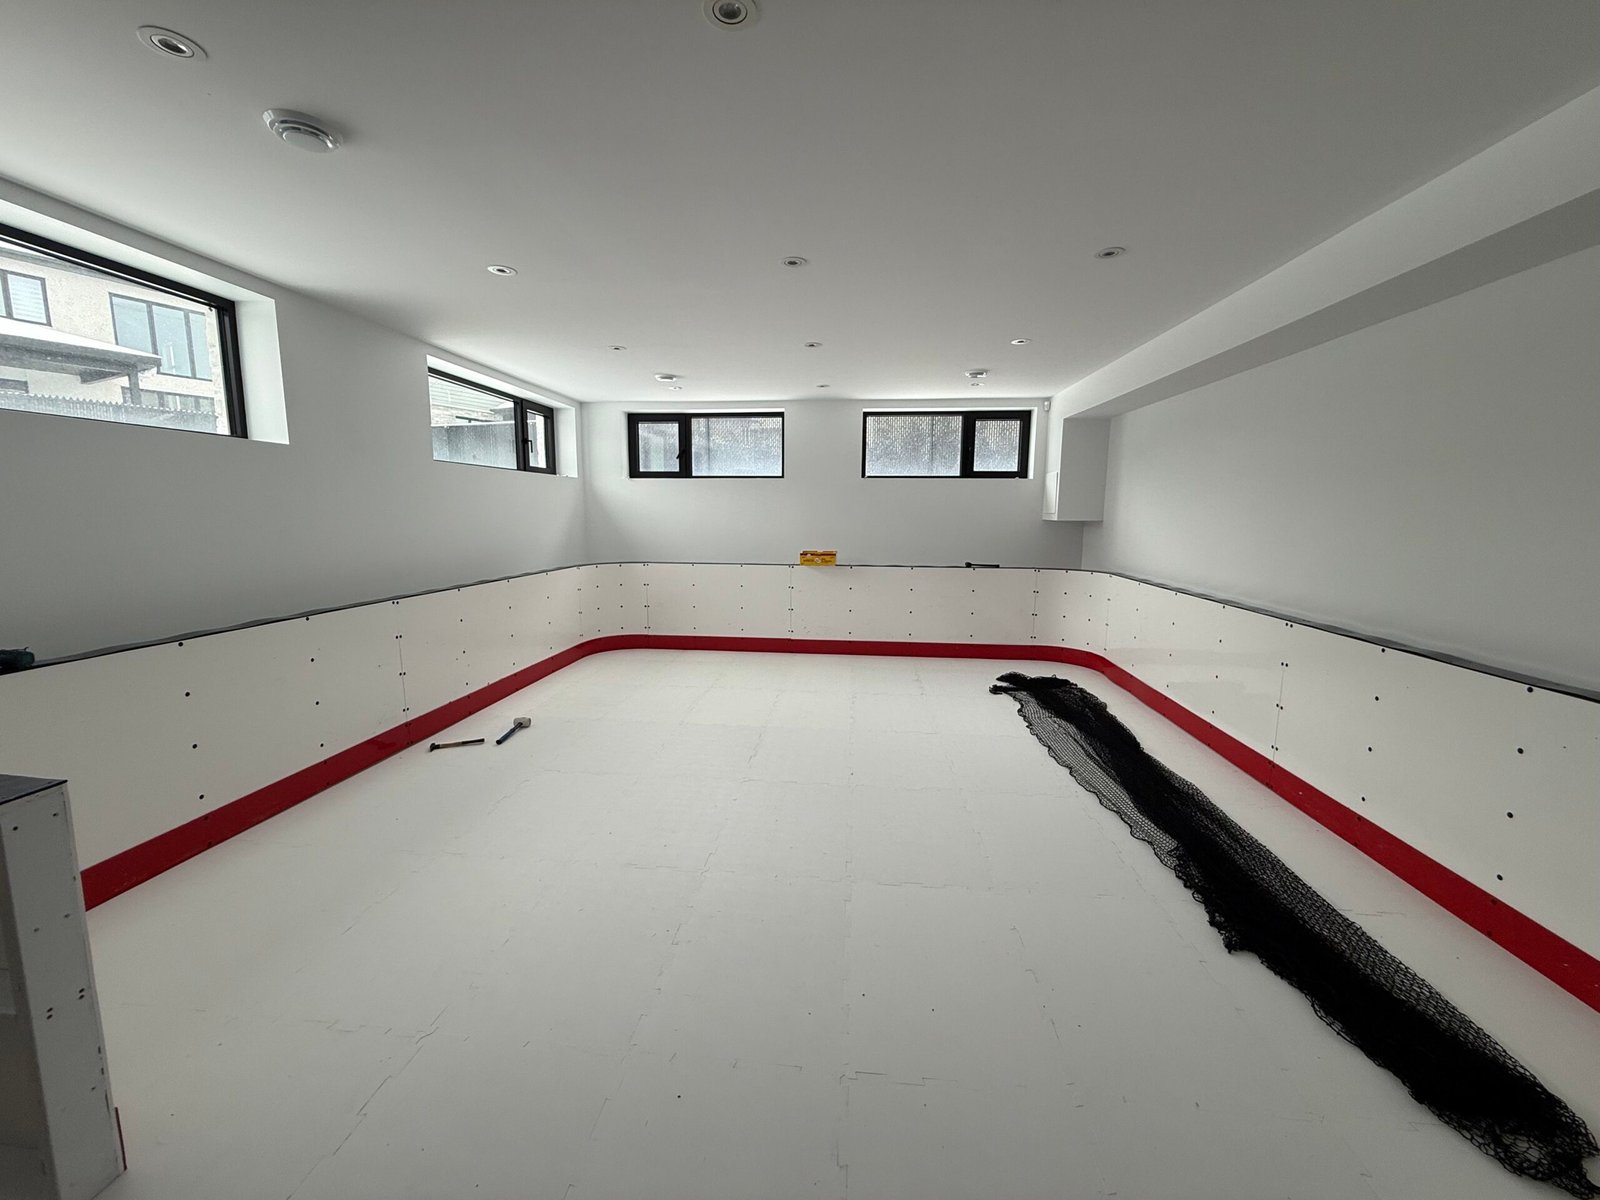
2. Install the HDPE panels
The signs must be:
-
aligned
-
tight
-
perfectly locked
A bad joint = a loss of glide.
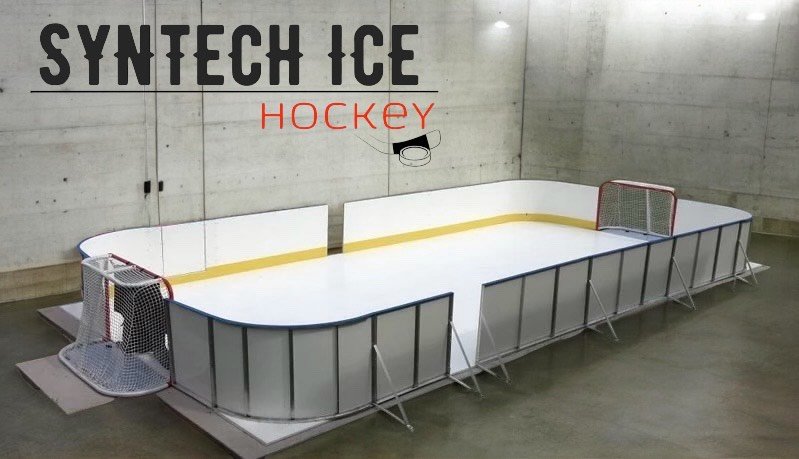
3. Add the HDPE hockey strips
They stabilize the ice rink and protect the players.
The rink boards HDPE are:
-
impact resistant
-
durable
-
safe
4. Install the safety nets
Particularly important for:
-
the young players
-
confined spaces
-
residential areas
-
the interior facilities
5. The cost of an installation
Prices vary depending on:
-
the size of the ice rink
-
the thickness of the panels
-
indoors vs. outdoors
-
HDPE strip included or not
-
level of finish
A small training area starts at a few thousand dollars, while a commercial ice rink can reach much larger budgets.
6. Mistakes to avoid
❌ Install on uneven ground
❌ Buy low-end panels
❌ Install it yourself without experience
❌ Forget about strips or nets
❌ Neglecting basic maintenance (sweeping)
Conclusion
For a durable, stable, and high-performing ice rink, professional installation is key. Properly installed synthetic ice can last. 20 to 25 years old and offer exceptional gliding.